

You started your seeds indoors. You watched those tiny green shoots push up through the soil. You moved them toward the light, watered them just right, and maybe even talked to them a little (no judgment – you do what you have to do). And now the weather is warming up and you are ready to get those babies in the ground.
But before you do, there’s one step that too many gardeners rush, or skip altogether, and it can mean the difference between thriving plants and a whole lot of disappointment. That step is hardening off, and we’re going to walk you through it.
Because here’s what nobody tells you the first time: the thing most likely to kill your seedlings isn’t the seed-starting part. You already did the hard work. It’s the move. It’s taking a baby plant that has lived its entire life under gentle, consistent light and sending it outside to get windburned, sunburned, and emotionally destroyed by a 40-degree Chicago night, all in the same 24 hours.
Don’t do that to them. Don’t do that to yourself.
Hardening off is the in-between step. And once you’ve done it once, it’s not complicated. We’re going to walk you through exactly how we do it on our farm in West Pullman and at home, in a zone where the weather will gaslight you from March all the way through May.
What Does “Hardening Off” Even Mean?
Hardening off is the process of slowly introducing your indoor-grown seedlings to the outdoor environment. Think of it like this: your seedlings have been living in a controlled, cozy world — consistent temperatures, no wind, filtered light. The outside world is a whole different situation. Sun is more intense. Wind creates stress on stems. Temperatures swing. Without a proper transition, your plants can go into shock, get sunburned (yes, that’s real), or just give up on you entirely
That’s it. You’re not doing anything to the plants. You’re just taking them outside a little at a time and bringing them back in. Their job is to toughen up. Your job is not to forget about them.
Why skipping this step is how good gardeners lose a whole tray overnight
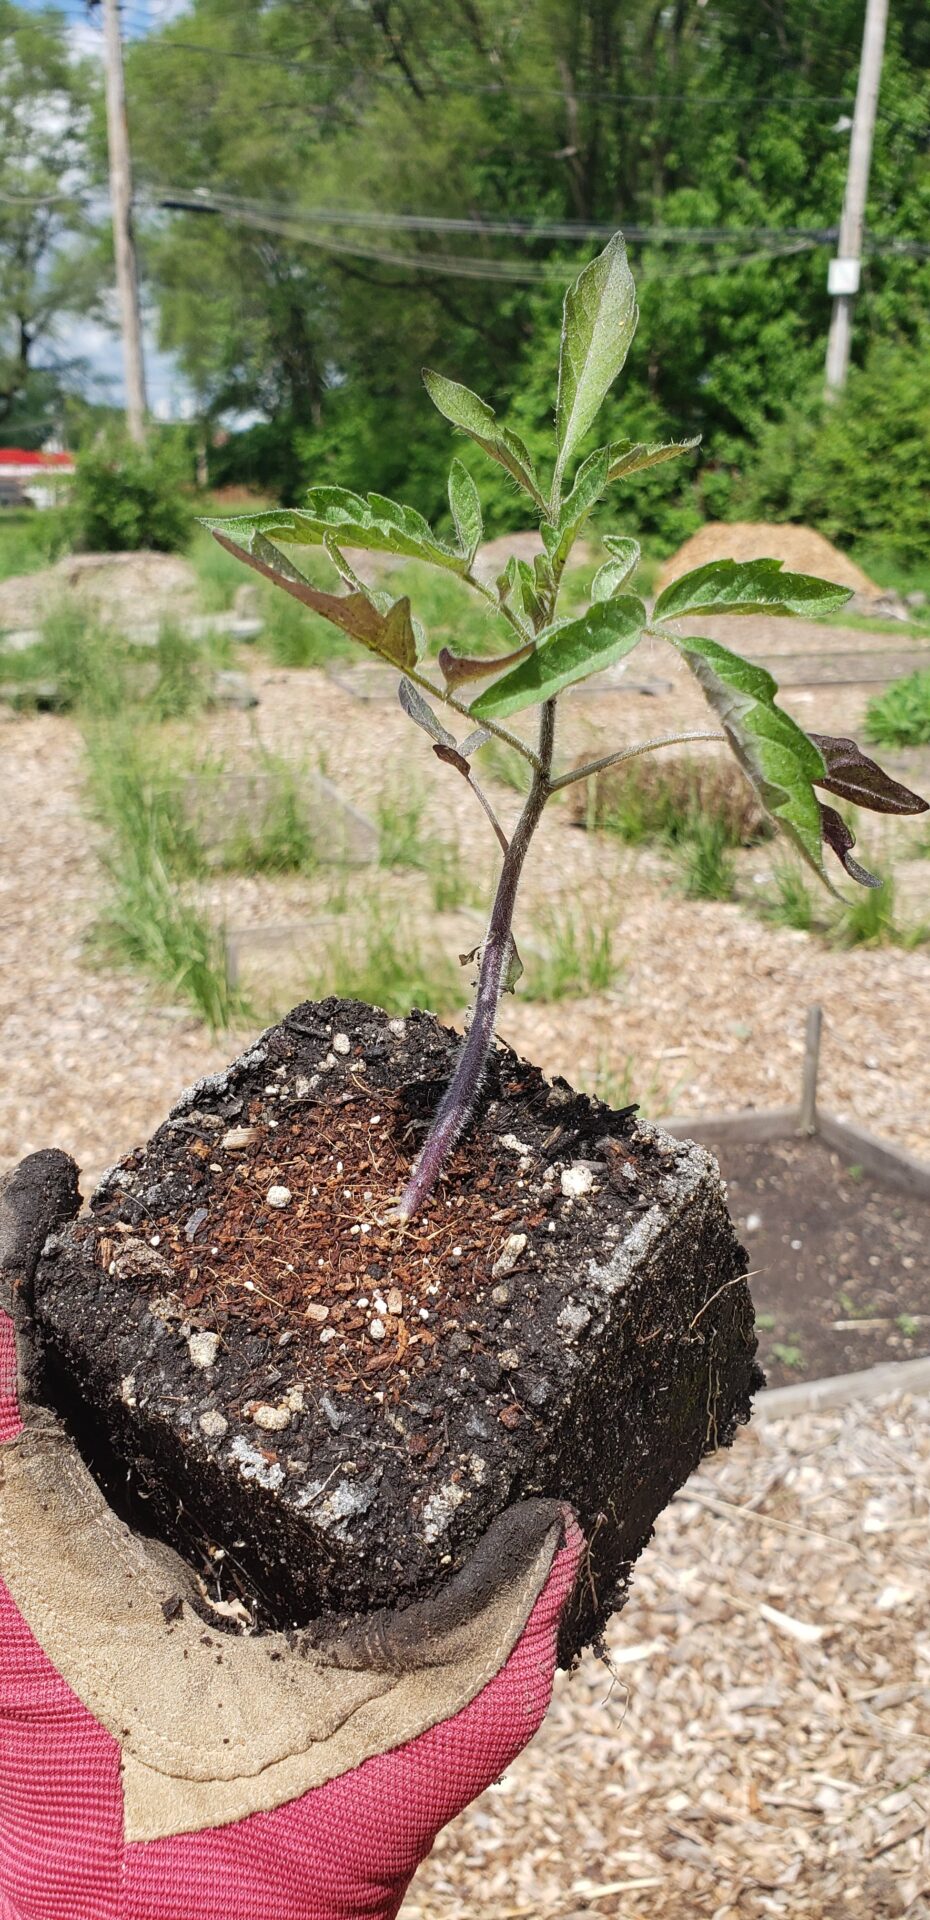
Indoor seedlings are soft. Literally. Their stems are thinner than they should be, their leaves don’t have the waxy cuticle built up that mature plants have to protect against UV, and their root systems are used to consistent moisture. They’ve never felt wind. They’ve never dried out between waterings. They don’t know what the sun is.
You take that plant and stick it in a raised bed on a 78-degree sunny day with a good breeze? Within a few hours the leaves can scorch white, the stem can snap, and the whole thing can wilt past the point of recovery. We’ve watched it happen. We’ve done it when we were just wee farmers.
The worst part is that it looks fine when you transplant it. You water it in, tell it you love it, go back in the house. By dinner it’s flat. By morning it’s brown.
Hardening off is how you avoid that specific flavor of grief, as well as frantic phone calls and visits to the farm.
When to start hardening off your seedlings
Your last frost date is your anchor
you do know your last frost date, don’t you? DON’T YOU?!
In zone 6a – which is most of Chicago – our average last frost date is somewhere around May 15. Sometimes it’s earlier, as shown in the chart linked above. Sometimes (lookin’ at you, 2023) there’s a freak 34-degree night the first week of June and we all lose our minds.
You want to start hardening off roughly 7 to 10 days before you plan to transplant, and you want to transplant after your last frost has passed.
So if you’re aiming to put tomatoes in the ground around May 20, you’d start hardening them off around May 11 or 12.
Cool-season vs. warm-season crops (don’t treat them the same)
This trips people up the most. Not everything goes outside at the same time.
Cool-season crops – broccoli, cabbage, kale, lettuce, collards, onions – can handle cooler temps and can start going outside in mid-to-late April in zone 6a. They’re tougher by nature. They don’t need as long to harden off, and a little chill doesn’t scare them. Remember, if you are participating in winter seed sowing, this is an actual step you don’t have to take – but that’s another post.
Warm-season crops – tomatoes, peppers, eggplant, squash, cucumbers, basil – need to wait until nighttime temps are consistently above 50°F, and for the most sensitive ones (basil, peppers, cucumbers), closer to 60°F. These are the plants hardening off matters most for. Rush them and they sulk for three weeks before they grow a single new leaf, if they grow at all.
Look at your seedlings, look at your forecast, and plan from there.
What you need before you start (spoiler: not much)
-
-
-
- Leaves look thicker, maybe a shade darker, not crispy or pale
-
- Stems feel firmer when you touch them, not floppy
-
- They can sit in full sun for a full day without drooping
-
- They’ve spent at least one successful night outside
-
- No new transplant shock signs (wilting that doesn’t bounce back after watering)
That’s the whole list. You don’t need a cold frame. You don’t need a mini greenhouse – if you’re not very focused, you might leave your starts inside too long, and they will be cooked. You need a spot and a schedule.
The 7-day hardening off schedule
Pick a week where the forecast looks reasonable. No frost warnings, no 30 mph wind days, no torrential rain. You don’t need perfect – you just need it not catastrophic.
Days 1–2: Shade and a couple of hours
Set the seedlings outside in full shade, in a spot protected from wind, for 2 to 3 hours in the middle of the day. Bring them back in before the sun shifts onto them.
Don’t skip the shade part. I know it feels like overkill. It isn’t. Full shade for the first two days is how you avoid leaf scorch.
Days 3–4: A little sun, a little wind
Move them to a spot that gets 1 to 2 hours of morning sun – not afternoon sun, morning sun is gentler – and a total of about 4 to 5 hours outside. Let them feel a little breeze. This is where the stems start to thicken up.
Check the soil. It’s going to dry out faster than it did indoors. Water when it needs water. Don’t overwater trying to overcompensate.
Days 5–6: Full day outside
6 to 8 hours outside, including a few hours of direct sun. By now the leaves should look sturdier, maybe a little darker green. They should not look wilted, crispy, or pale. If they do, back off – give them another shade day before you push forward.
Day 7: The first sleepover
If nighttime temps are above 50°F for warm-season crops (or above 40°F for your cool-season stuff), leave them out overnight. This is the final test. Put them somewhere protected, keep the tray up off the ground, and check on them first thing in the morning.
If they made it through the night looking good – congratulations. They’re ready to transplant.
Common mistakes we see every spring
Leaving them out on Day 1 too long “because it’s nice out.” The nicer the day, the more dangerous it is for an unhardened seedling. Sunny and 75 is what fries them. Overcast and 60 is a gift.
Forgetting about them. We cannot tell you how many trays we’ve seen baked on somebody’s deck because they got distracted. Set a timer. Every single day. We’re not joking.
Ignoring the wind. Chicago wind is not a joke and it doesn’t care about your seedlings. A protected spot is not optional here – it’s the whole game. Wind dehydrates tender leaves faster than sun does. And like everything and everyone in Chicago, we do not play games.
Skipping the overnight test. If the first night your plant spends outside is the night you transplant it into the garden, you skipped a step. Give them one protected overnight in the tray first.
Starting too early in the season. If your forecast shows a frost warning anywhere in the next 10 days, it’s not time. Wait. Your tomatoes would rather be root-bound in a 4-inch pot for another week than dead in the ground.
How to tell when your seedlings are ready for the ground
If all of that checks out, they’re good to go.
A quick word on transplant day
Transplant on a cloudy day if you can, or late in the afternoon after the worst of the sun has passed. Water the seedlings in their pots before you transplant. Get the hole dug first so the roots aren’t sitting in the sun waiting. Water again after planting.
And then – leave them alone for a minute. Resist the urge to fuss. A good transplant looks a little sad the first day and perks up by day three. That’s normal.
If you made it this far, you’re going to do fine. Hardening off is one of those garden tasks that feels like more than it is the first time, and then becomes muscle memory every spring after. Your plants will be stronger for it. Your harvest will be bigger for it. And you won’t spend May grieving a tray of tomatoes.
Happy transplanting.
If you want more specific gardening guidance – when to start what, how to work with our weird zone 6a weather, how to actually feed your family from a small space – come hang out with us at We Sow We Grow in West Pullman. We host workshops all season.
-