
Part 3 of 5 in our International Compost Awareness Week series
We’re at the midweek mark, friends, and this is the post you might want to bookmark. Yesterday we walked through the right composting setup for every kind of urban living situation. Today we’re getting into the HOW — the actual recipes that turn your kitchen scraps and yard waste into black gold.
Because here’s the thing: there’s no one right way to compost. The “right” way depends on how much time you want to spend, how much space you have, and how fast you need finished compost in your hands. Some of these recipes you can run while you’re literally asleep. Others ask for some hands-on attention but pay you back in weeks instead of months.
A quick refresher before we dive in — every single one of these recipes still relies on the greens-and-browns balance we covered Monday. If you need that cheat sheet again, here it is:

Now that we have that out of the way, here are the six recipes I actually use and recommend, ranked roughly from “set it and forget it” to “all hands on deck.”
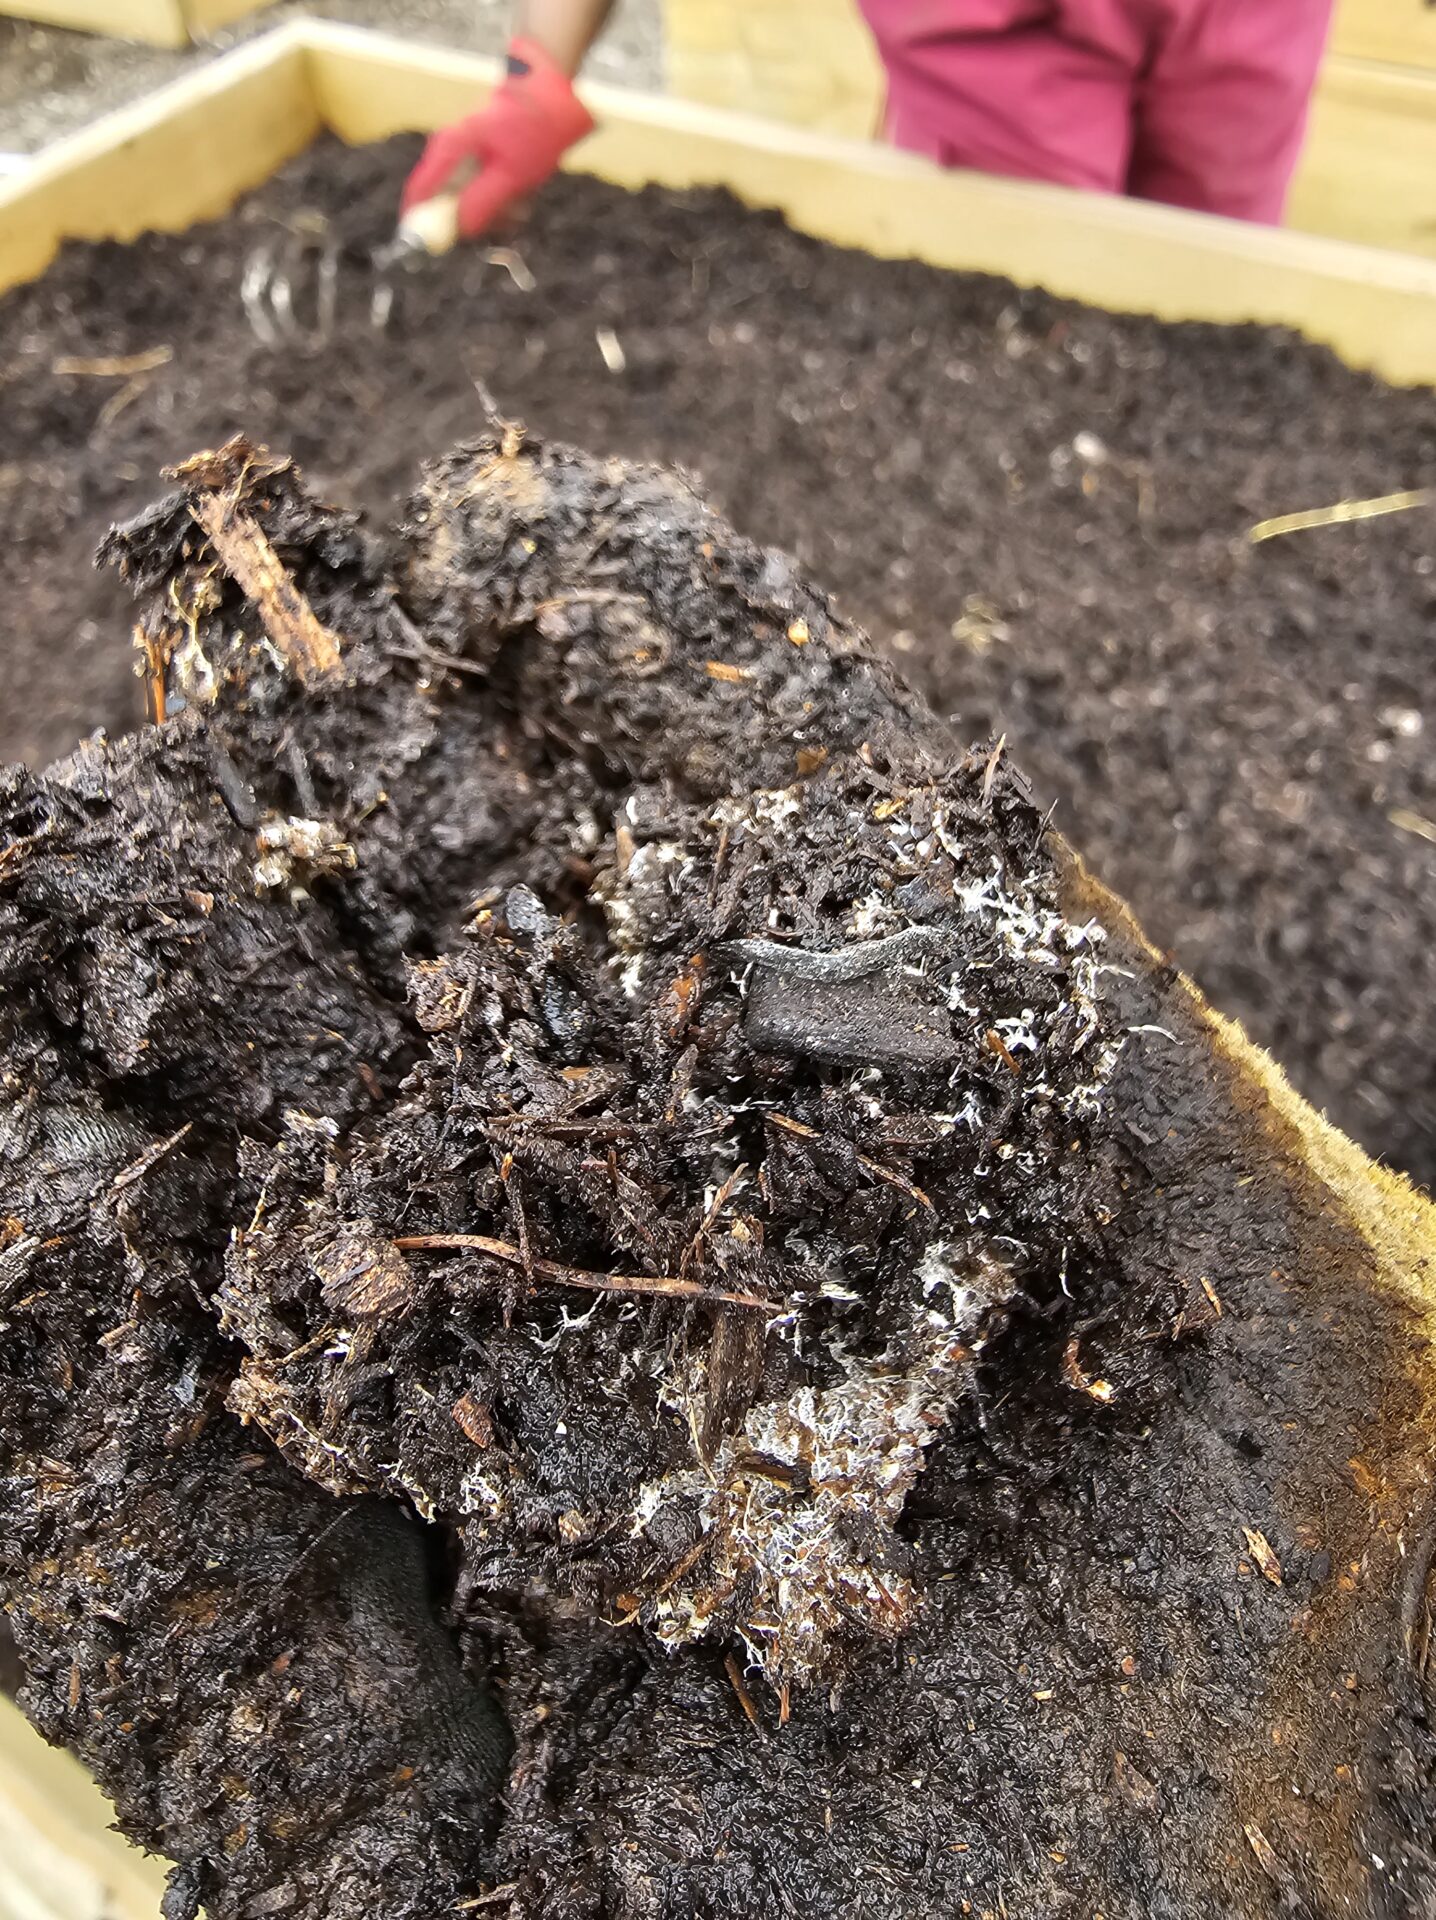
Recipe 1: The Lazy Pile (Cold Compost)

???????????????????.??T??R?????2??????????????????????????????@?????????????????????????????????????????????????????????????????????????????????????????????????????????????????7??????????????~1?????????7?????????????????????????????????4???~????????????????????d??
This is best for: People with yard space who want compost without fuss Time to finished compost: 6 months to 1 year
This is composting on its own schedule. You build a pile, you keep adding to it, and eventually it becomes compost.
- Roughly 3 parts brown to 1 part green
- Build to at least 3 feet by 3 feet by 3 feet (any smaller and the pile won’t hold heat)
- Water it when you remember, especially during dry stretches
- Turn it whenever you feel like it
You’re not going to get hot, fast compost out of this. You’re going to get compost. Eventually. And honestly? For most home gardeners with one decent-sized pile, this is plenty.
Recipe 2: The Hot Pile (Berkeley Method)
Best for: Gardeners who want finished compost FAST Time to finished compost: ~18 days
This is the espresso shot of composting. More work, way faster turnaround.
- 2 parts brown to 1 part green (slightly higher nitrogen than the lazy pile)
- Build the entire pile at once — minimum 3′ x 3′ x 3′
- Layer in 4 to 6 inch alternating layers of brown and green, watering each layer to wrung-sponge moisture
- Wait 4 days, then turn the pile inside-out
- Turn every 2 days after that for about 2 weeks
- The center of the pile should hit 130 to 160°F — that’s the heat that kills weed seeds and pathogens
You’ll need a compost thermometer to do this right, and a strong back. But you can run this cycle multiple times in one growing season and produce serious volumes of compost. This is the recipe for folks who plan to feed a real garden.
Recipe 3: Leaf Mold

Best for: Doing something useful with the mountain of leaves you hoarded Time to finished compost: 1 to 2 years
Leaf mold isn’t technically compost — it’s leaves broken down by fungi rather than bacteria. But it is GOLD for your garden.
- Pile up shredded fall leaves (running a lawn mower over them speeds it up)
- Keep the pile damp; a tarp during dry spells helps
- Walk away
That’s the whole recipe. No greens, no turning, no babysitting. After a year or two you’ll have a dark, fluffy, almost-soil texture that makes the best mulch and seed-starting medium you’ll ever use. This is also the lowest-effort compost you can make, period.
Recipe 4: The Worm Bin (Vermicomposting)

Best for: Indoor and apartment composting Time to finished compost: 2 to 3 months for first harvest
- A bin around 14 gallons works for one person; scale up for a household
- Drill ¼-inch ventilation holes in the lid and upper sides
- Bedding: shredded cardboard or newspaper, dampened to wrung-sponge moisture, filling the bin about ⅔ full
- Stock with red wigglers (Eisenia fetida) about 1 pound (roughly 1,000 worms) per square foot of surface area
- Feed roughly half a pound of scraps per pound of worms, per day, MAX
- Always cover fresh scraps with a layer of bedding – this is the trick that keeps fruit flies away
- Keep the bin between 55 and 77°F (this is why most people keep them indoors)
The output is worm castings, which a lot of growers consider the most concentrated soil amendment in the natural world. A little goes a long way – a few tablespoons mixed into a planting hole will absolutely transform what your plants are doing.
Recipe 5: Bokashi Bucket
Best for: Indoor composting that handles meat, dairy, and cooked food Time to finished pre-compost: 2 weeks of fermentation, plus 2 to 4 weeks in soil
- Airtight 5-gallon bucket with a spigot at the bottom (you can buy kits or DIY)
- Add 1 to 2 inches of food waste, then sprinkle 1 to 2 tablespoons of inoculated bokashi bran on top
- Press out the air with a plate or your hand, replace the lid tightly
- Repeat every time you have scraps until the bucket is full
- Drain the “bokashi tea” from the spigot every few days – diluted 1:100 with water, this stuff makes your container plants act a fool
- Once full, let the bucket sit and ferment for 2 weeks
- Then bury the fermented contents in your garden, a deep planter, or a regular compost pile to finish breaking down
Bokashi is the only in-home method that truly handles meat and dairy, and when it’s done right it produces ZERO smell. The fermentation step is the magic. Worth knowing about even if you only use it for the trickier stuff your worms can’t eat.
Recipe 6: Trench Composting (Direct Composting)
Best for: Small yards, prepping next year’s beds, no-fuss disposal Time to finished compost: 1 to 4 months in the soil
This is the recipe many of our ancestors used. No bin, no pile, no turning, no thinking about it. You bury the scraps right where you want the nutrients to end up, and the soil does the work.
- Dig a hole or trench 8 to 12 inches deep, somewhere in your garden bed
- Drop in your kitchen scraps (no meat, no dairy, no oily food — same rules as the lazy pile)
- Cover completely with at least 6 inches of soil so animals don’t go digging
- Walk away
The earthworms, microbes, and fungi already living in your soil break the scraps down right there in the ground. By the time you’re ready to plant in that spot, the area is enriched and primed.
This is a fantastic strategy for prepping next year’s tomato or squash beds in the fall – bury scraps all winter, plant in spring, and watch your tomatoes act like they own the place. Catch is, you can’t process high volumes this way (you’ll run out of yard real quick), and once the ground freezes solid in a Chicago winter, you’re done until spring. But for shoulder-season composting or low-volume households? Underrated, underused, GOLD.
Which One Is Right For You?
Look at your living situation, your time, and your honest tolerance for fuss, and pick ONE. Maybe two if they pair well (a worm bin indoors and a lazy pile outside is a classic combo). Don’t try to run all six. Master one recipe before you graduate to the next one.
Coming up Thursday — Part 4: Year-Round Composting in a Real Climate. This is the post for everyone who thinks composting stops in November. It does NOT, y’all. We’re going to walk through what your pile is doing in every single season, and how to keep the system running through a Chicago winter at least, without losing your mind
Got compost questions? Come hang out with us in the We Sow We Grow Gardening Chat on Facebook, or drop your question in the comments below. We’re learning together, every season.